Creating a new branch allows you to add commits on a parallel version of the repository.
This can be used to test new features and not affect the main branch.
Later, the changes made in the branch can be added to the main branch once they are tested.
Specifying the branch base
Before creating a new branch, you want to make sure that you are basing the branch on the right commit - the last commit on the main branch. The base commit of a branch is the last commit that is shared with the other branches. A branch can be moved to a different base using rebase, but rebasing should be avoided unless needed.
Pulling origin
To make sure that we are on the latest main, we pull the latest changes from GitHub (origin):
git pull origin

Click Fetch Origin.
The current branch name should be in the bottom-left corner.

If prompted, select Rebase.
Switching to main
We can make sure we're on main (in older repositories the main branch might be named master):
This command in any console (CMD, Powershell, Bash) will switch to the main branch.
git switch main

If a different branch name is displayed, switch to main by clicking on the display and selecting
main.
The current branch name should be in the bottom-left corner.
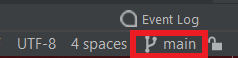
If a different branch name is displayed, switch to main by opening the Branches panel (click on
the branch name) and then select main > Checkout.
Creating a new branch
Now that we have the right base, create a new branch:
This command will create a new branch named mybranch based on the current one.
git switch -c mybranch
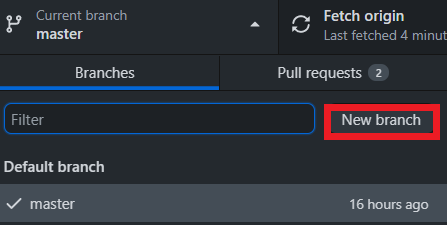
Click New Branch and enter the name for the new branch.
Open Git > New Branch from the top menu, and enter a name for the new branch.
Leave the Checkout Branch checkbox selected - otherwise you won't be switched to the new branch.